Monday, December 24, 2012

A Washi Holiday

It's that time of year again...and here is the much anticipated release!

Merry Christmas, everyone!

This year has been a very busy one. It's crazy how the year has just flown by so fast! No matter how busy life can be, we need to take the time and wind down and do the things that make us most happiest!

From ELii, we wish you all a safe and happy holiday that is filled with LOTS of giggles! Have a "Washi" Holiday!

Colour(s) Involved: Natural Ivory (all colour names are copyrighted by Stampin' Up!), Red, White, Brown, Silver

 Dimensions: 5-1/2" x 4-1/4"

 Recommended Use: Christmas Card

 Price: $--- 

Availability: LIMITED EDITION

Wednesday, December 5, 2012

Lil Box From Home

Colour(s) Involved: Pretty in Pink, Silver Glimmer Paper (all colour names are copyrighted by Stampin up!), Pine Green, Cherry Red, Ivory, Cinnamon, Icy Blue

Dimensions: 2-5/8" x 3-3/4" x 7/8"

Recommended Use: Treat Box, Gift Box

Price: $3

Availability: SOLD

Additional Picture(s):

Saturday, November 17, 2012

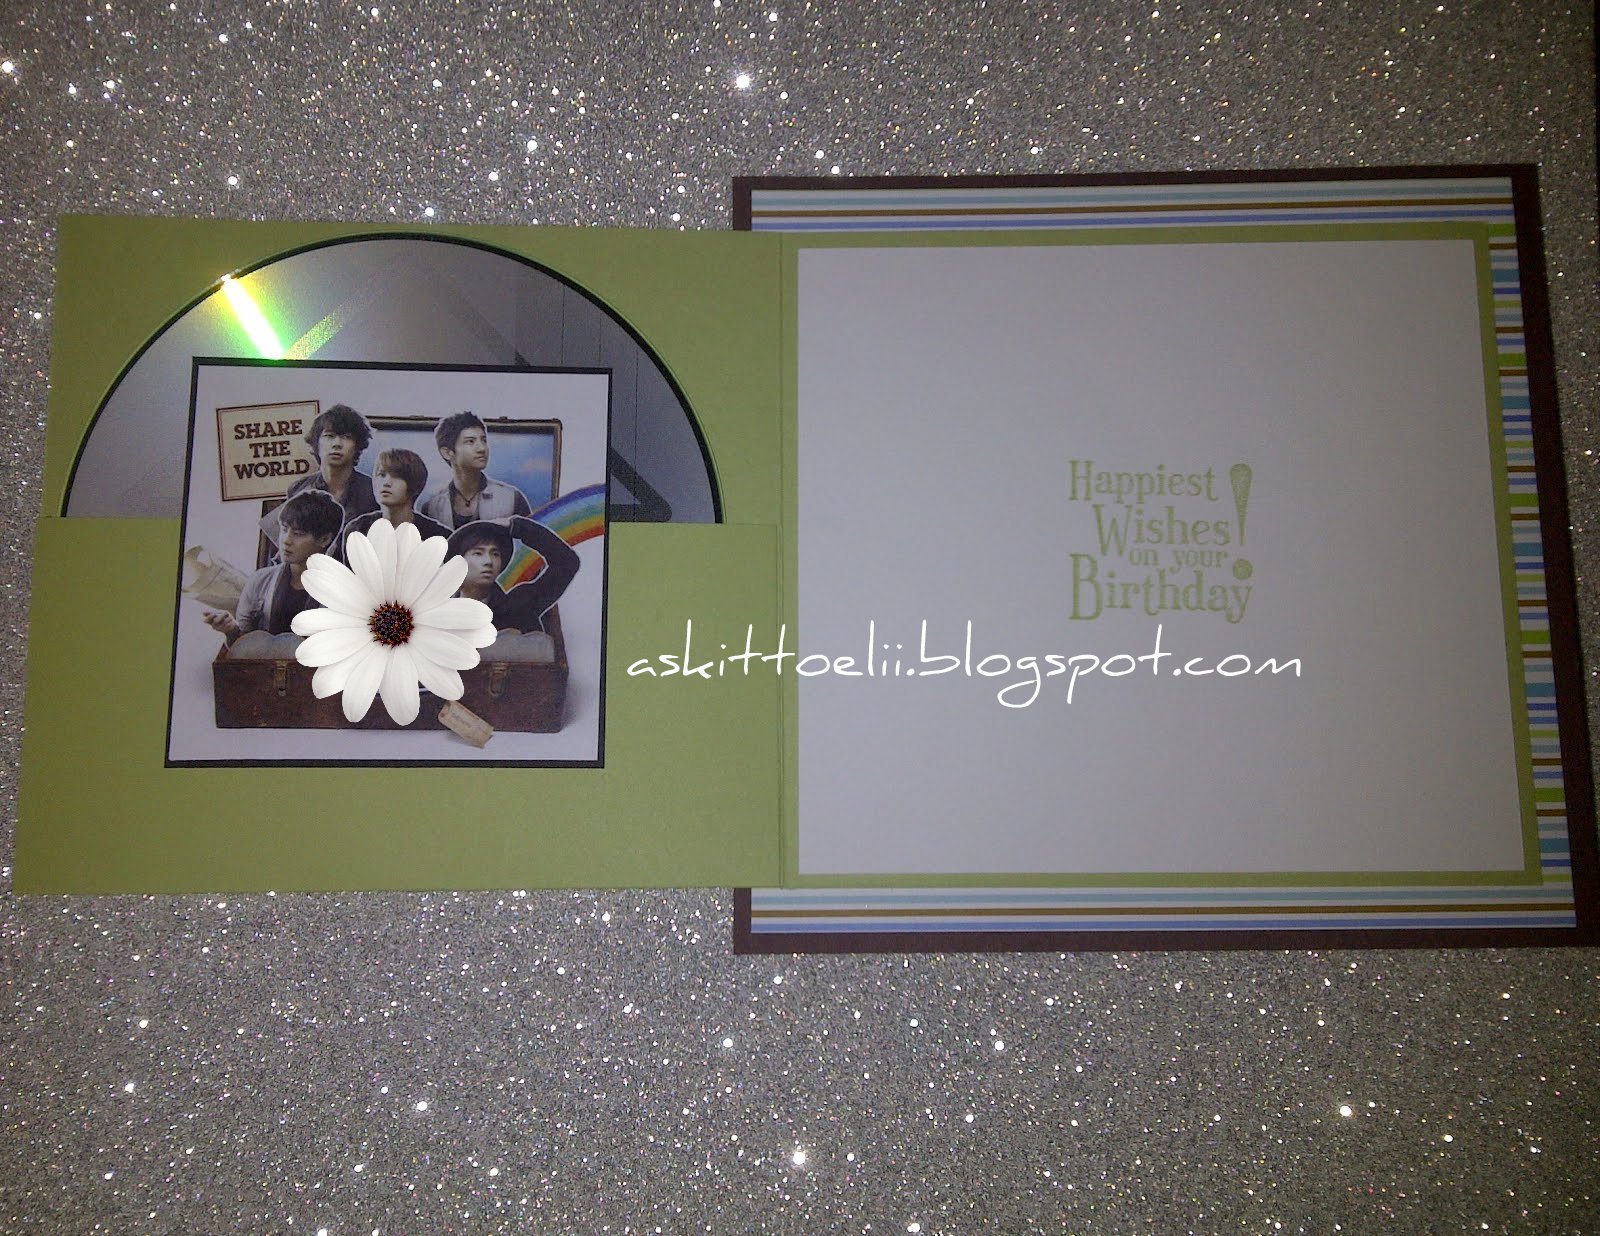
Wishy Washi Happy

Colour(s) Involved: Butter, Tahitian Princess, Mermaid, Celtic Green, Surf’s Up, Poolside (all colour names are copyrighted by Bazzil Basic Paper), Naturals Ivory (all colour name are copyrighted by Bazzil), Bright White, Sage, Brunswick Green, Cerulean

Dimensions: 4-1/4" x 5-1/2"

Recommended Use: Birthday Card

Price: $5

Availability: SOLD

Additional Picture(s):

Exploring with Washi Tape

Washi Tape has become one of the most trendiest items in the craft world. You may ask, what is Washi Tape? Essentially, it's decorative paper tape.They come in many different designs and sizes too!

Washi Tape can be used all sorts of ways. You can use it to wrap presents, seal envelopes, on scrapbook layouts, and it doesn't just end there.


As I was exploring Washi Tape for the first time, I decided to use it on cards. Here I have used several different Washi Tape patterns and created a striped-patterned as a background for a birthday card (which, I will soon have post on here).

You can use this card as is or embellish it more!

Tutorial: DIY Patterned Paper

Textured patterned paper can come in so many variations. But sometimes, what you want isn't always available. As I was trying to make a birthday card for a friend of mine's, I had stumbled upon to this road block.

As I was experimenting with what I had and what I knew my friend would like, I just cut strips from various colours of textured cardstock. The strips were measured at 1/4" each. Depending on how large or small your desired DIY paper, cut as much colour strips as you need. For the project that I was working on, the measurement was 4-1/2" x 2-3/4".

So, here's the recipe:

1. Decide how big or small your DIY paper base should be. Mine's measured at 4-1/2" x 2-3/4". Best to use your scrap paper for this. That way, nothing will go to waste!
2. Now, choose several different colours of paper. For my project, I chose 6 different colours that would blend well together.

3. Cut them into 1/2" wide strips. Cut as many strips that you will need to cover your DIY paper base. For my DIY paper base, I only needed 2 strips of each colour.

4. Now that you have your DIY paper base and the colour strips ready, it is time to stick them on.

5. In no particular order, I selected the first colour strip and lined in up diagonally on the DIY paper base. Aligning the paper until to my liking, I add adhesive to the back of the strip and align it on the base. I recommend adhering the strip at the top to save from having too much scrap at the end. By using this approach, you can maximize your output.

6. Trim off any excess. You should have a diagonal cut on one end and a straight cut on the other end.
7. Choose a different colour for the next strip and adhere to the right of the first strip. Trim off excess. Continue this when all colours have been used.

8. Now that you have used all the colours that you've chosen, you repeat with the order that was already on the base until you've reached the end.

9. Remember to cover the tiny corner with the corresponding colour. It will look complete once that missing piece is filled.
10. Now, do the same for the other half.
11. By now, you should have a finished piece that is fully covered with the paper that you have chosen. Don't you feel good?
12. You can now use this piece on a card, scrapbook layout, bookmark as a backing, or...you can use it the way how I've used it.

Yes! I've used my DIY textured paper and die-cutted with one of my Sizzix dies. Doesn't it look so pretty? I love the way how some of the colours contrast with another.. The DIY paper just pops out on the project!

Hope enjoyed this tutorial!

Monday, August 20, 2012

ELii is NOW on Facebook!

Yes, ELii is now on Facebook! Please visit our Facebook page at www.facebook.com/AskittoELii. and "LIKE" us. That way, you will be most up-to-date with ELii news and promotions from local craft stores and online art shops!

Wednesday, July 25, 2012

Relax and Smile

Colour(s) Involved: Pool Party, Elegant Eggplant, Wild Wasabi (all colour names are copyrighted by Stampin' Up!), Bright White, Green, Red, Very Dark Brown, Violet, Black

Dimensions: 4-1/4" x 5-1/2"

Recommended Use: Birthday Card

Price: $5

Availability: SOLD

Additional Picture(s):

Friday, July 20, 2012

Baby Rubber Duckie

Colour(s) Involved: Blushing Bride, So Saffron, Peach Parfait (all colour names are copyrighted by Stampin' Up!), Bright White, Pastel Pink, Pastel Yellow, Plum, Blizzard Blue, Cherry

Dimensions: 4-1/4" x 5-1/2"

Recommended Use: Baby Birthday

Price: $5

Availability: SOLD

Additional Picture(s):

Tuesday, July 17, 2012

Tutorial: Watercolouring Pencils

Please bare with me as this is my first picture tutorial. This tutorial will be featuring: watercolouring with coloured pencils and just a touch of colouring with copic markers.

You will need the following items:
- watercolour paper
- a few watercolour pencils (whichever colour you want to use)
- a stamp image of any kind (best to keep it simple if this is your first time)
- StazOn's Jet Black ink pad or any permanent black ink pad
- Stampin' Up!'s Blender Pens, Item #102845 (you can also use a make-up or paint brush for this)

First, I stamped the image in black ink and stamped it on the watercolour paper. I stamped it three times, so I wouldn't have to waste the paper. And, be sure to give yourself enough space to cut around the image when it's done colouring.

Then, start with a small area with the watercolouring pencil and just outline the area that you are working on. Once you have the outline drawn, you can use the blender pen and just slowly dab some of the outlined colour and pull it down. Keep doing this until you got the area that you were working on all covered. You can apply more colour if you want or leave as is. Personally, I think it's sufficient.

Once you are done with the first side, you can now do the same for the other side with the same applied technique.

Now, you can colour the rest of the image with other colours. Remember to be creative!

I wish I knew about watercolouring when I was in elementary school. It would have made colouring so effortlessly!

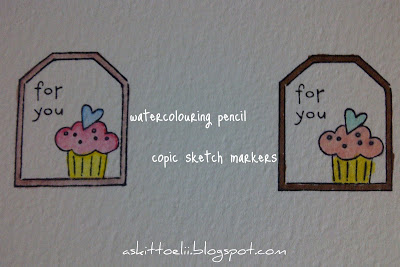
...And I was just comparing watercolour pencils and copic sketch markers. Again, my very first time using both mediums. There are elements from both mediums that I like and dislike. So, feel free to use whichever mediums that best suits your project and personal taste!

I had so much fun with this colouring experience. And I hope you did too! =)


***Credits: stamp image used from Stampin Up!

Friday, July 13, 2012

Summer of Sunshines

Colour(s) Involved: Pear Pizzaz, Pool Party, Apricot Appeal, Naturals Ivory, Pretty in Pink, Daffodil Delight, Perfect Plum (all colour names are copyrighted by Stampin' Up!)

Dimensions: 2-1/4" x 3-1/4"

Recommended Use: Invitation

Price: $3/envelop

Availability: SOLD

Additional Picture(s):

ELii is baaack!

It has definitely been awhile, but we are back in action. Thank you for your continued patience, support, and loyalty.

Once again:

謝, Kamsaneeda, Arigatou, Merci, Gracias, Danke, Salamat, and...of course, THANK YOU!!!

Friday, April 6, 2012

Not Just Any Clutch

Colour(s) Involved: Basic Black, Perfect Plum, Crumb Cake (all colour names are copyrighted by Stampin' Up!), Cream, Vintage Silver

Dimensions: 4-1/4" x 5-1/2"

Recommended Use: Birthday, Invitation

Price: $6

Availability: SOLD

Friday, March 23, 2012

Fab{YOU}lous

Colour(s) Involved: Natural Ivory, Red Rose, Peach Parfait, Daffodil Delight, Apricot Appeal, Blushing Bride, Pool Party, Real Red, Tempting Turquoise, Old Olive, Perfect Plum, Wisteria Wonder (all colour names are copyrighted by Stampin' Up!), Bright White, Red, Pink, Naturals

Dimensions: 7-1/2" x 3-3/4"

Recommended Use: Birthday Card

Price: $5 for Card; $1 for Envelop

Availability: SOLD

Additional Picture(s):

Thursday, January 26, 2012

Wishes Over the Rainbow

Colour(s) Involved: Chocolate Chip, Certainly Celery, Real Red, Peach Parfait, Daffodil Delight, Old Olive, Tempting Turquois, Perfect Plum, Basic Black (all colour names are copyrighted by Stampin' Up!), Camson's White, an assortment of colours

Dimensions: 6" x 5-3/4"

Recommended Use: Birthday Card

Price: $9

Availability: SOLD

Additional Picture(s):

Monday, January 23, 2012

Happy Chinese New Year

As the clock strikes midnight, a new year calls for a new start. In the year of the Dragon, I wish you all many happy memories to come. But most importantly, good health.

Happy Chinese New Year!!!!!


Monday, January 2, 2012

Scallops Rich as Pearls

Colour(s) Involved: Very Vanilla, Basic Black, Rich Razzleberry, Riding Hood Red, Bravo Burgundy, Chocolate Chip (all colour names are copyrighted by Stampin' Up!), Pink, Fuschia, Lime Green, Lavender, Baby Blue, Frost Blue

Dimensions: 5-1/2" x 4"

Recommended Use: Birthday Card

Price: $10

Availability: SOLD

Additional Picture(s):