Textured patterned paper can come in so many variations. But sometimes, what you want isn't always available. As I was trying to make a birthday card for a friend of mine's, I had stumbled upon to this road block.
As I was experimenting with what I had and what I knew my friend would like, I just cut strips from various colours of textured cardstock. The strips were measured at 1/4" each. Depending on how large or small your desired DIY paper, cut as much colour strips as you need. For the project that I was working on, the measurement was 4-1/2" x 2-3/4".
So, here's the recipe:
1. Decide how big or small your DIY paper base should be. Mine's measured at 4-1/2" x 2-3/4". Best to use your scrap paper for this. That way, nothing will go to waste!
2. Now, choose several different colours of paper. For my project, I chose 6 different colours that would blend well together.
3. Cut them into 1/2" wide strips. Cut as many strips that you will need to cover your DIY paper base. For my DIY paper base, I only needed 2 strips of each colour.
4. Now that you have your DIY paper base and the colour strips ready, it is time to stick them on.
5. In no particular order, I selected the first colour strip and lined in up diagonally on the DIY paper base. Aligning the paper until to my liking, I add adhesive to the back of the strip and align it on the base. I recommend adhering the strip at the top to save from having too much scrap at the end. By using this approach, you can maximize your output.
6. Trim off any excess. You should have a diagonal cut on one end and a straight cut on the other end.
7. Choose a different colour for the next strip and adhere to the right of the first strip. Trim off excess. Continue this when all colours have been used.
8. Now that you have used all the colours that you've chosen, you repeat with the order that was already on the base until you've reached the end.
9. Remember to cover the tiny corner with the corresponding colour. It will look complete once that missing piece is filled.
10. Now, do the same for the other half.
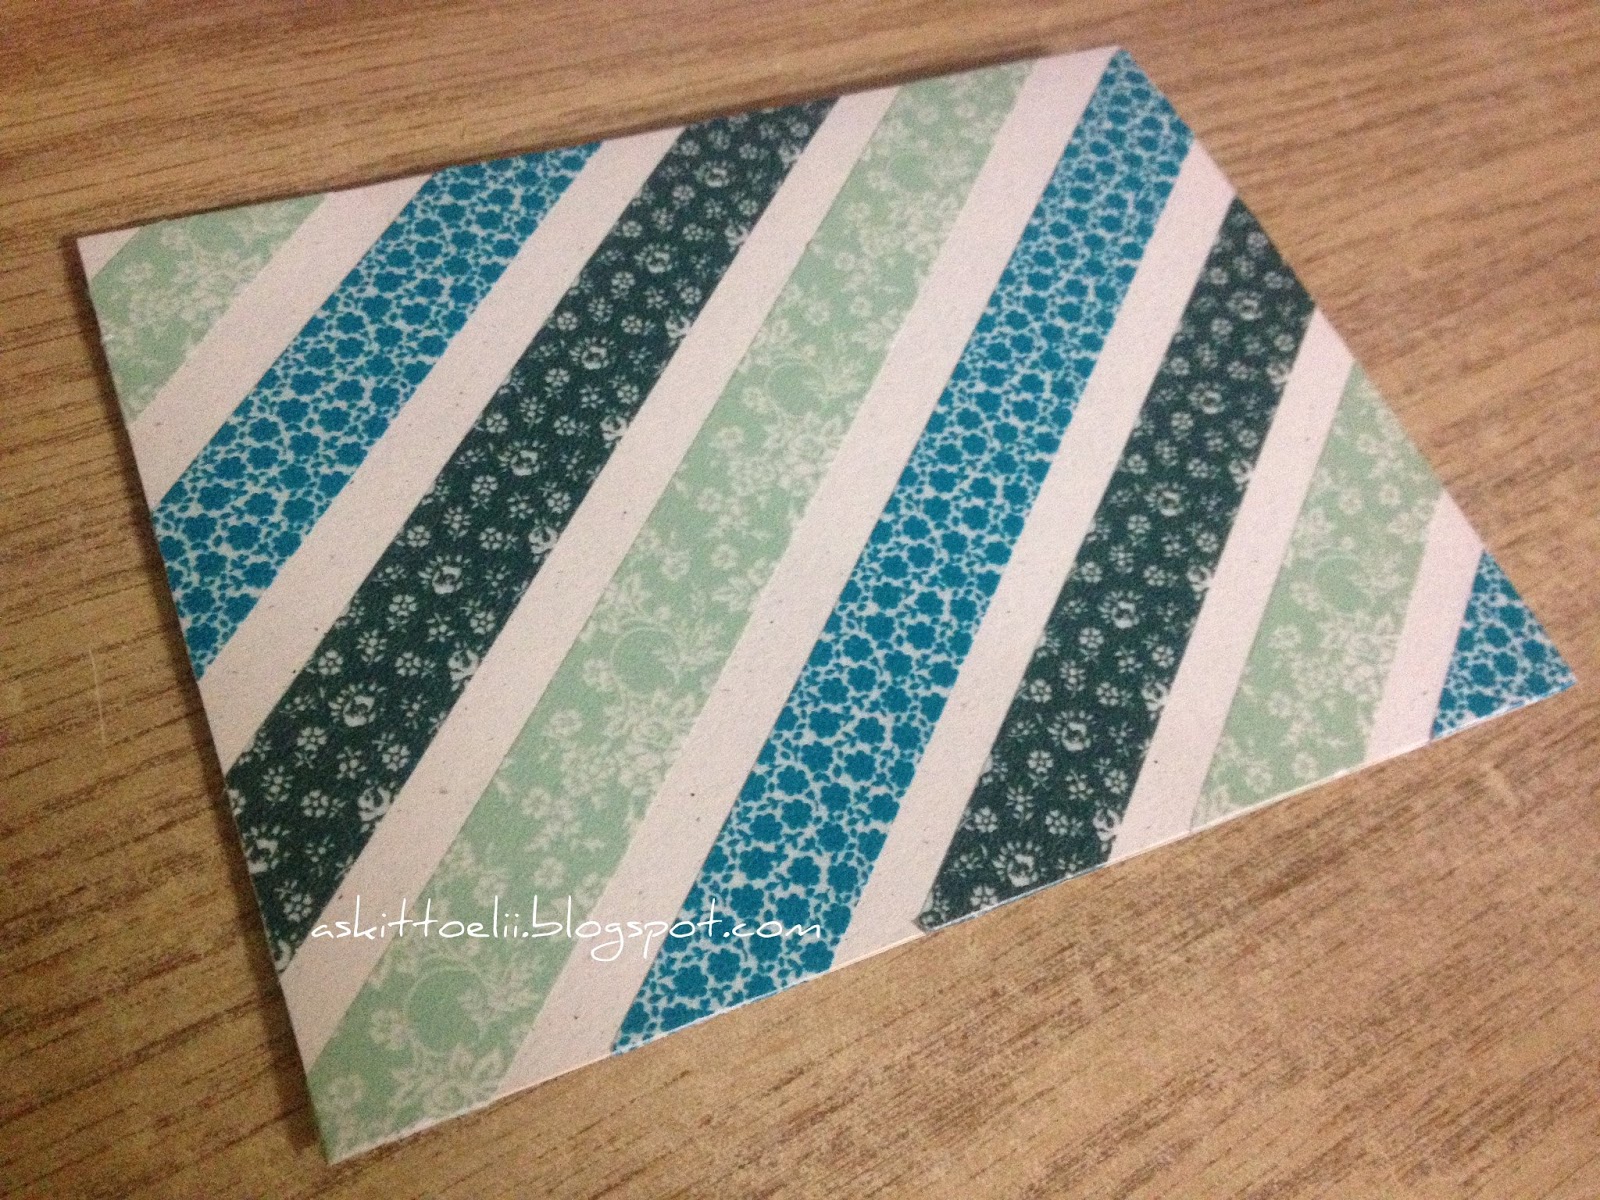
11. By now, you should have a finished piece that is fully covered with the paper that you have chosen. Don't you feel good?
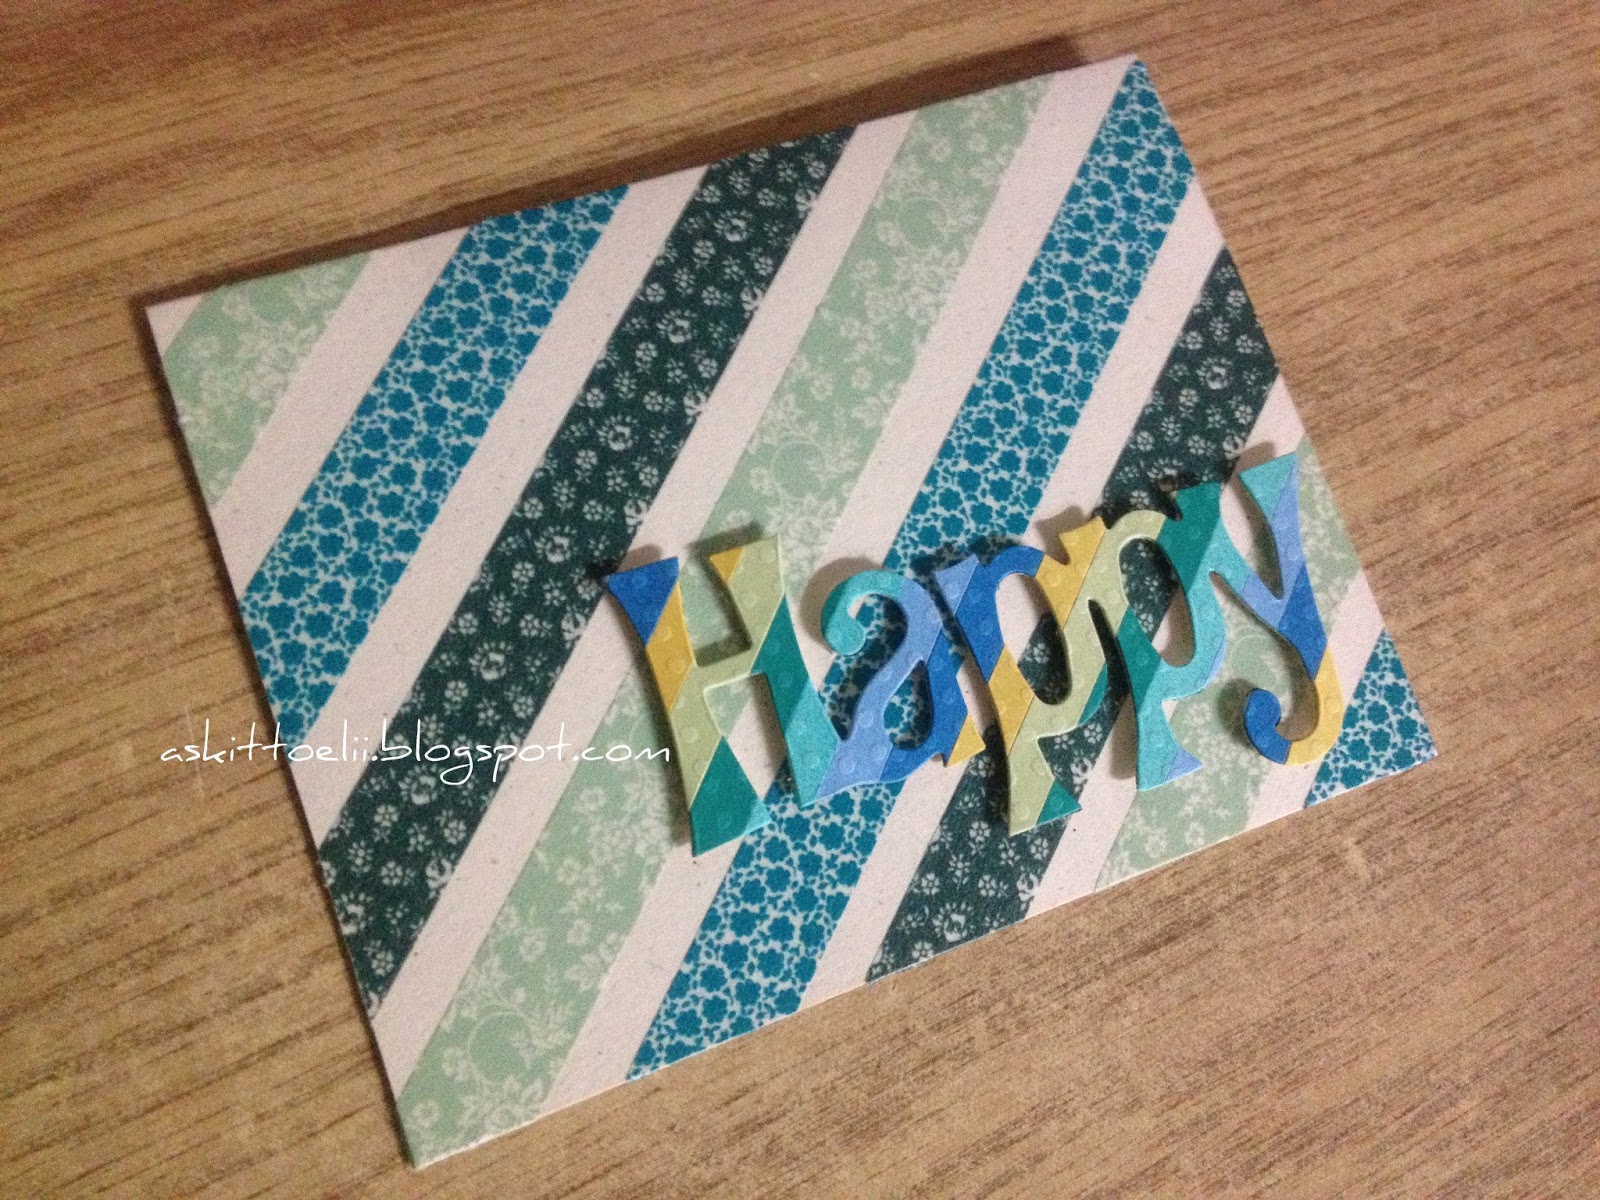
12. You can now use this piece on a card, scrapbook layout, bookmark as a backing, or...you can use it the way how I've used it.
Yes! I've used my DIY textured paper and die-cutted with one of my Sizzix dies. Doesn't it look so pretty? I love the way how some of the colours contrast with another.. The DIY paper just pops out on the project!
Hope enjoyed this tutorial!